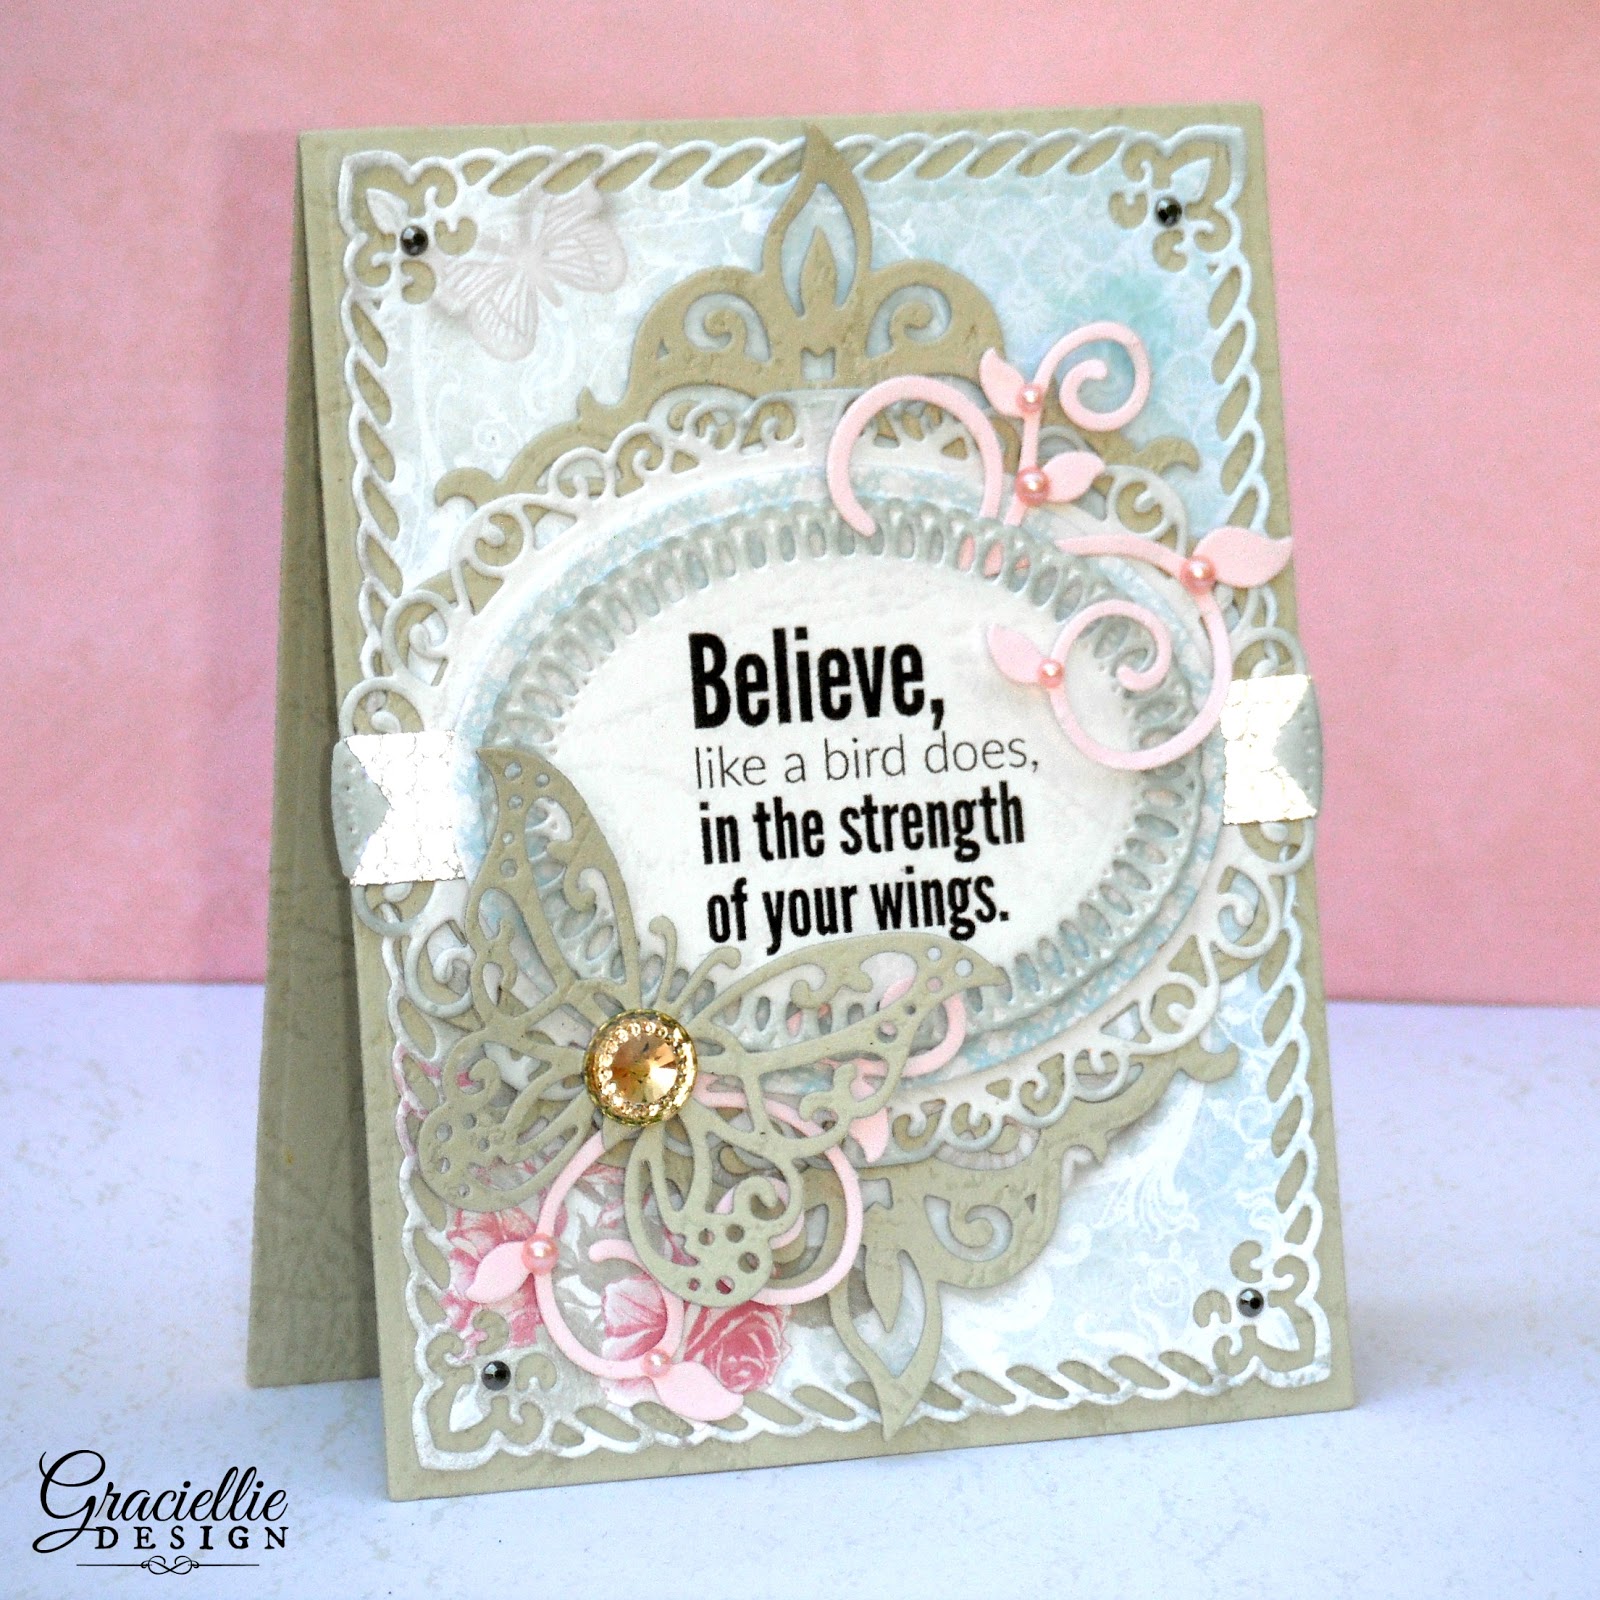
Sometimes all you need is an elegant, simply layered card. But there’s always that moment when you think your design is missing something. I always find jewels, pearls and rhinestones add the perfect finishing touch to any card, even simple designs. Today’s cards are the perfect example.


Main Supplies:
Stamps – Graciellie Design: Believe Digital Stamp Set / Sending Blessings Digital Stamp Set
Dies – Spellbinders: A2 Matting Basics A / A2 Valiant Honor / Elegant Ovals / Majestic Oval / Classic Ovals Small. Marianne Designs: Vintage Butterfly. ODBD: Fancy Frillitary/ Vintage Flourish Pattern / Fancy Foliage.
Embellishments – Eyelet Outlet: 12mm Jewel Bling – Clear Edge / 12mm Bling Jewels – Champagne / Bling Sheets – 100 Sheet – Multi Sizes / Jewel Multi Size Bling – 100 Count / Glitter Silver Dot Washi Tape
Paper – ODBD: Shabby Rose Collection, Heart and Soul Collection
I worked with the same layering on both cards, varying only the colors, patterned papers and sentiments. As you may notice, I used a few delicate die cuts to create a very clean layering. I find that patterned papers help to fill the “white” space on a card but it is the embellishments what finally brings everything together.
I used some stunning jewels from the Eyelet Outlet, who kindly provided a few products so I could share samples with you. Another element you might have not noticed in detail yet is the stunning glitter washi tape I cut into banners and added to each side of the central oval on both cards… It looks like sparkly foil which makes this washi an amazing alternative to foil transfers when you only need a few details here and there on a card. Love how all the embellishments look together on both cards!
Tip: I printed a couple of my new digital stamps to use on these cards. If you are wondering how I was able to print them to fit the oval die exactly, here’s an easy way to do it. First use a ruler to measure the die to see how large you should print the sentiment. Then paste the digital stamp on a new Word document, right click and change the size settings. Set the size a little smaller than the previous ruler measurement and print leaving enough margin to be able to die cut the image. You should be able to get a perfect result every time! Easy, right?
I love both of these digital stamps but I have exciting news to share… Our new March release is ready! Stay tuned for a new blog hop and giveaway. I can’t wait for you to see all the new stamps and inspiration projects. So don’t forget to subscribe to my newsletter (on sidebar) so you don’t miss the event!


Those are beautiful! Thank you for using our product.
LikeLike
These are stunning, Gracie!! The layers and designs are so fabulous!! The jewels look amazing!! Have a great evening!! Big hugs 🙂
Lisa
A Mermaid's Crafts
LikeLike
Beautiful cards! The CAS cards that are the trend now are great, but I do love layered cards like yours the most!
LikeLike
Beautiful cards, Gracie. Love the added bling – so very elegant!
Hugs,
Lena
LikeLike
Beautiful cards, Gracie. Love the added bling – so very elegant!Hugs,Lena
LikeLike
So very beautiful. You have the magic touch when it comes time to embellish.
LikeLike
So wonderful
Elma from Insta
LikeLike